Do you ever feel like a single creaky stair announces your every night time movement to the entire house? Fear not! Fixing squeaky stairs is an easier task than you might think, and with a little DIY know-how, you can banish those midnight squeals for good.
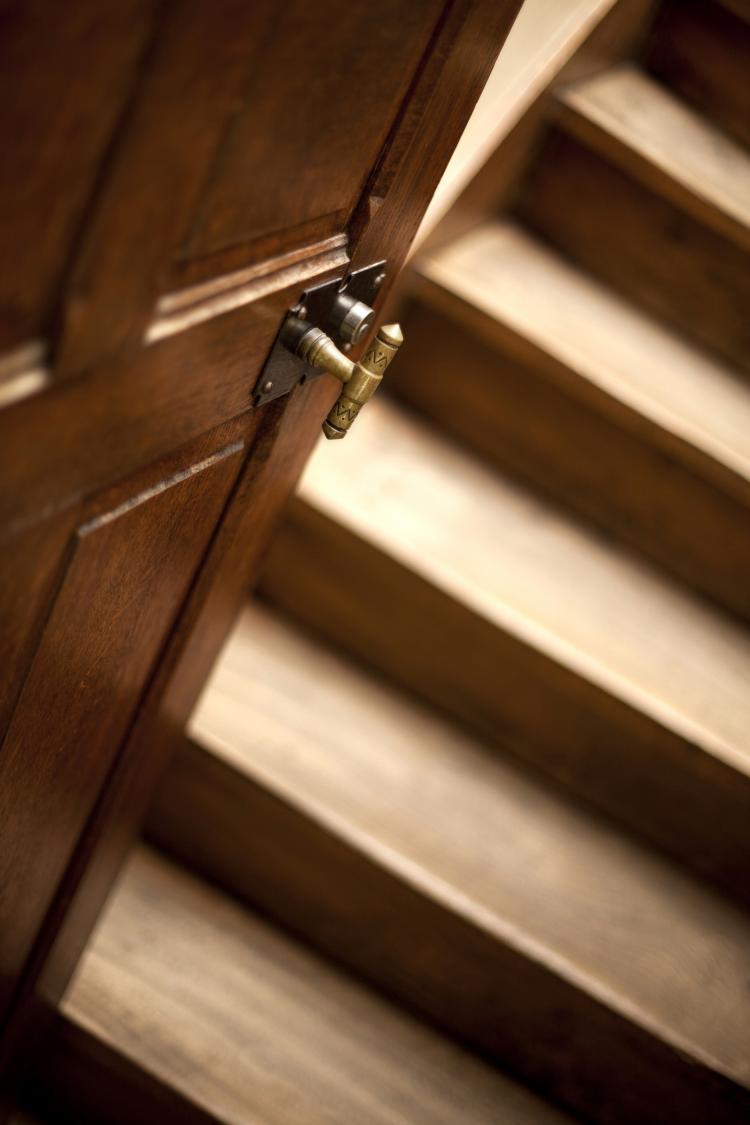
What Is the Cause of Squeaky Stairs?
Let's first break down the anatomy of your stairs::
- The tread is the piece of wood you step on
- The riser is the vertical section of wood that slots along the front of each stair, filling the space between one stair and the next
- The stringer is the whole frame the stairs rest on; it's essentially the two large boards on either side of the stairs.
The culprit behind the squeak is usually loosened connections between these parts. Over time, wear and tear, loose nails, or aging glue can create small gaps, causing the wood to rub and produce that annoying sound.
What Is the Fix?
- First, find the source of the squeak! Walk the stairs slowly, applying pressure to pinpoint the exact location of the squeak. This will help identify which parts are loose.
- If you can access the underneath of your stairs and see the exposed wooden structure, you're in luck! Here, you can easily spot gaps between loose components or missing support blocks. The fix is simple: Gently tap in shims or wedges (triangular wood pieces) coated with a little wood glue to fill the gaps. Or, alternatively, you can hammer nails into the gaps once secured with wedges for extra reinforcement. Remember: Use gentle force to avoid widening the gap and worsening the problem.
- If you only have access to the top of the stairs, it can be a little trickier to find the exact spot, and if you’ve got carpeted stairs this will also have to be removed before you start too. Consider fixing the stairs when replacing the carpet altogether to avoid damaging your current carpet.
- Once the carpet is removed, the most simple method is to just screw the tread back into the riser at the front or the stringers to the side, depending on which part is loose. Three screws should be enough for the job, one at each end of the tread and one in the middle. This should close any gaps and keep the riser or stringer night and tight against the tread.
- The only issue with drilling nails straight down is that they may come loose again with more extended wear and tear. As an alternative, you can hammer nails in at 45 degree angles to tighten up the tread and the riser. Having the nails in at this angle will give some extra stability and they’ll be less likely to pop out.
Final Touches
After completing the repairs, avoid using the stairs for a few hours to allow any glue to dry completely. With these easy steps, you can finally enjoy squeak-free night time journeys up and down the stairs, and your family will surely appreciate the newfound peace and quiet!