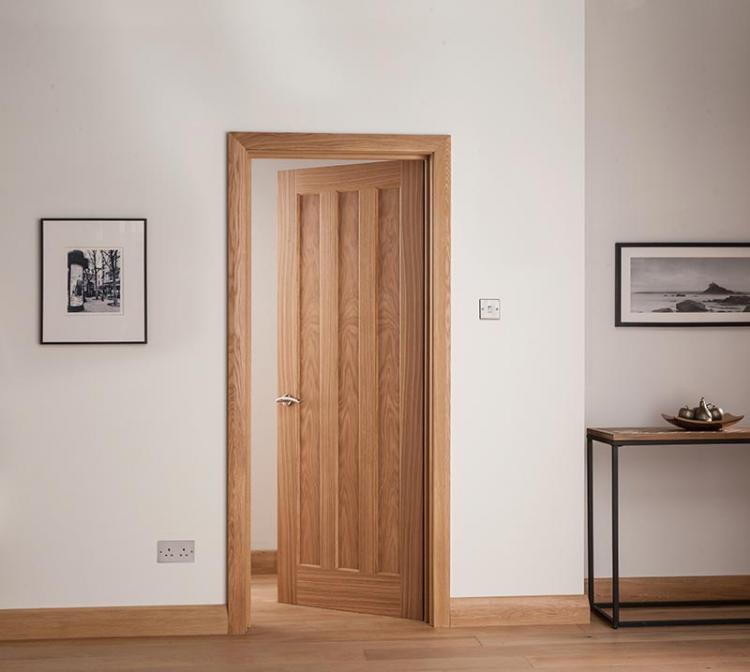
Oak Interior Doors by Cheshire Mouldings.
Hello and welcome to our four-part guide series that will take you through the steps on how to hang an interior door, how to trim an interior door if it is too big, how to fix door furniture, and how to finish a door. Whatever your background – from an experienced tradesperson to a weekend DIY’er – hopefully, you will come out the other side with some great tips and best practices that you can take away with you and apply to your interior development projects.
The fourth article in the fortnightly series is a step by step guide on how to finish an interior door. If you want to know more about fitting an interior door handle to your new door, click here to be directed to our last article where you can find more information.
An inexpensive, simple but effective DIY task, staining and finishing your interior doors is a great way to 1) Protect your door 2) Highlight the natural beauty of the wood, and 3) Make an old looking door look new again. After a little surface preparation, you can have your door stained and finished in as little as a day.
If you are unsure after reading this article, Blueprint Joinery recommends always getting a local tradesperson involved as mistakes can be costly. We also recommend referring to your product fitting instructions at all times of the installation process. All our fitting guides can be found here on the website.
Recommended equipment
Below is a list of tools and equipment useful in varnishing an interior door:
- Dust sheet (to protect your floor from brush drips)
- Workbench
- Sandpaper (with around 200-220 grit)
- Tack cloth (a stickie cloth that helps remove any unwanted debris)
- Various screwdrivers
- Electric sander
- Brushes or microfibre roller
- Lint-free cloth.
1 – Unhang the door and place flat on a workbench
Skip this step if you have a brand new, unhung door. If your interior door has removable hinge pins, you can pop them out using a screwdriver or large nail to remove the door. If not, you will need to unscrew the hinges from the door rather than from the door frame. It is also a good idea to tape screws and pins to the hinges to avoid losing them. With the door
Tip: Why remove the door from the hinges? It is best practice and will 1) Allow you to do a much neater job, and 2) Allow you to seal all six sides of the door. It is important to seal all edges of the door as well as the door frame to avoid swelling when there is high humidity in the environment. An interior door incorrectly sealed on all edges tends to be the one that eventually starts to stick and bind later on in its lifetime.
2 – Prep the door thoroughly
It is important to sand the interior door thoroughly both finished and unfinished. Remove as much as the existing finish as possible for a better result. If the door is unfinished, sand it down with either sandpaper or an electric sander to help open up the fibres which will consequently help the timber accept the stain more easily. It is important to always sand with the grain of the timber.
With the door fully prepped, we recommend using a tack cloth to remove any unwanted debris such as small wood pieces and dust before staining.
3 – Stain the door
Apply a coat of stain with a brush or microfibre roller. Paint on evenly and with the grain for a perfect finish. To avoid dark spots as a result of uneven pools of stain, use a lint-free cloth to wipe off excess stain as you're painting it on.
Refer to the stain manufacturer instructions for more information on how long to leave the stain dry for before applying another coat. Usually, you will need approximately six-twelve hours drying time between coats, and one-three coats of stain depending on the timber you are finishing and the stain you are using.
It is important that between each coat of stain, after allowing it to dry properly, you use 200-220 grit sandpaper. Apply as many coats as necessary until you have achieved your desired colour.
4 – Finish the door
With your desired colour achieved, you will need to apply a finish to your interior door to seal and protect it. Finish comes in flat, semi-gloss or high gloss. As always, it is important to follow the manufacturer’s instructions for more information on the application as every manufacturer and finish type will be different. You will typically need one-two coats, never more than three.
5 – Rehang the door
With your stain and finish fully dry and looking good, it is now time to rehang your interior door. Position the door against the door frame and ensure the door is at the correct height; using a door wedge for stability will help with this part. Fix the hinges into place and make sure to tighten the hinge screws properly to prevent wilting.
If you have been looking at your interior doors lately and keep on thinking they could do with a premium upgrade, then you have come to the right place. Our new range of interior engineered oak doors offers the perfect combination of quality, durability, and design to enhance the look of your interior décor. With everything from traditional design to our more contemporary ranges, our collection has something that will be sure to compliment every room.